|
|
| Manually Controlled Pump Unit |
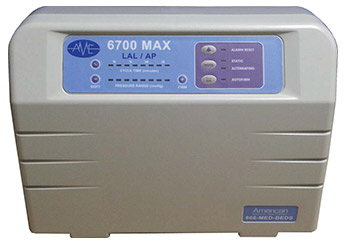
The switch is on the right side of the unit. Turn ON/OFF the power, the unit will start/stop operation. |
 |
Turn the knob from the soft to firm position to select a pressure value |
There are seven pressure levels on the touch panel, providing options of pressure value. |
Indicates the pressure has reached the set level. |
Indicates the pressure is below the set level. The alarm will turn on at the same time. |
Select a desired alternating cycle time from the touch panel. The cycle time value can be 10, 15, 20 or 25 minutes. There are two LEDs for each time value. |
The alarm will turn on when the Low Pressure LED is on. To mute the alarm, simply press the reset button. The alarm LED will flash. Re-Press the reset button to reactivate the audible alarm. |
Sets the air mattress in static mode or alternating mode |
Sets the air mattress to auto inflation mode.
*Your controller may or may not include all of the functions listed |
| |
| |
| Installation |
1. |
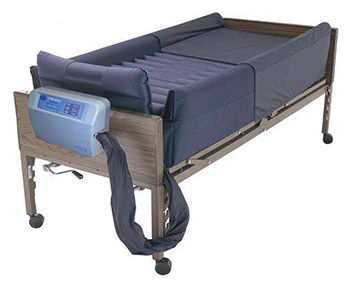
Place mattress flatly on the bed frame. The inflation tube should be towards the foot end. |
 |
| 2. |
Cover with a cotton sheet to avoid direct skin contact & reduce friction (not included). |
| 3. |
Hang the pump unit on the foot end of the bed frame and make sure that it is stable. |
4. |
Connect the inflation tubes from the mattress to the controller's inflation ports. Make sure they are properly attached and not leaking. |
NOTE:
Make sure the air hoses are not kinked or tucked under the mattress. Also check to ensure the CPR valve is properly attached. |
5. |
Plug the power cord into an electrical outlet with grounded AC power. This product should be grounded. The power cord has a grounding wire with a grounding pin. The three wire plug must be plugged properly into an outlet and grounded as shown in the Grounding Instructions section.
NOTE:
Before inserting the plug into the outlet, make sure the voltage is compatible. Also make sure this product is well grounded. |
6. |
Turn on the power by pressing the power switch on the right side of the control unit. Proceed to the Operation Section |
| 7. |
Make sure to disconnect the control unit by unplugging the power cord when it is not in use. |
| |
| |
| Operation |
| 1. |
Turn on the power. The power and Low Pressure LED will come on. The control unit starts to pump air into the mattress.
The alarm will beep and it's LED will come on to alert that pressure is low. Press the Alarm Reset button to mute the alarm, and it's LED will continue to flash. |
 |
| 2. |
When the pressure reaches the preset level by factory default, the normal pressure LED will come on, and the Low Pressure LED (and the alarm) will turn off If the Low Pressure LED (and the alarm) doesn't go off, please contact American
Medical Equipment for equipment examination.
Note:
During normal operation, there may be a leakage when the Low Pressure LED comes on or the alarm sounds. Please refer to the troubleshooting section. |
| 3. |
Turn the pressure-selector knob to adjust the pressure from the soft to firm position. (approximate pressure range is 20 to 50 mmHg)
Note:
For suitable pressure, please refer to the previously described hand check procedure. |
4. |
The unit is preset in alternating mode and it's cycle time is set at 10 min / 60Hz or 12min / 50Hz Press the static button to set it in static mode, and the Static LED will come on. The pump will enter static mode after it completes the last alternating cycle time. Press the static button again to restart the alternating function.
NOTE:
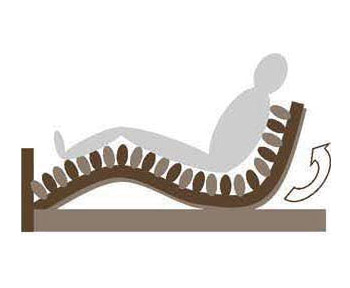
Press the static mode button from the touch panel to provide a firm surface that makes it easier for the patient to transfer or reposition. The static mode can support the patient by keeping the mattress from bottoming out when the patient is in the sitting position. |

|